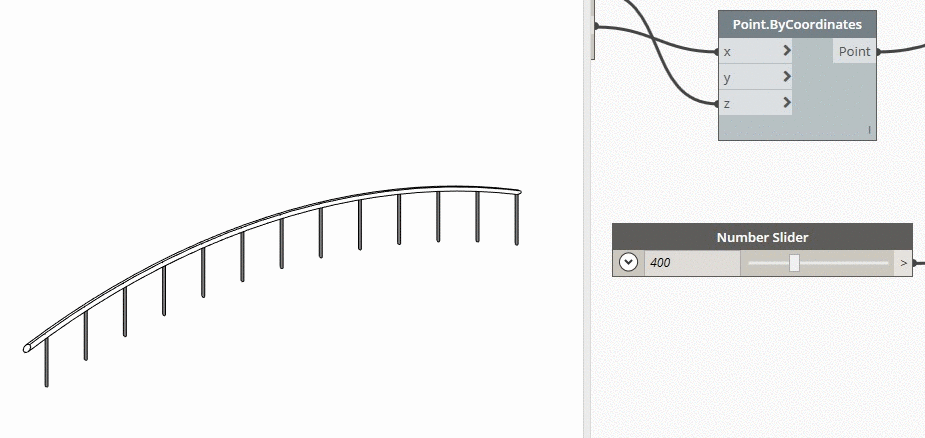
If you need to iteratively place multiple Revit elements with Dynamo, like these stadium chairs, then you are in trouble. The problem comes from element binding - a Dynamo feature which preserves the link between DesignScript and Revit elements during the current Dynamo session. This is how Dynamo works by design, preventing your model from an avalanche of element duplicates, created in 'Auto' mode:
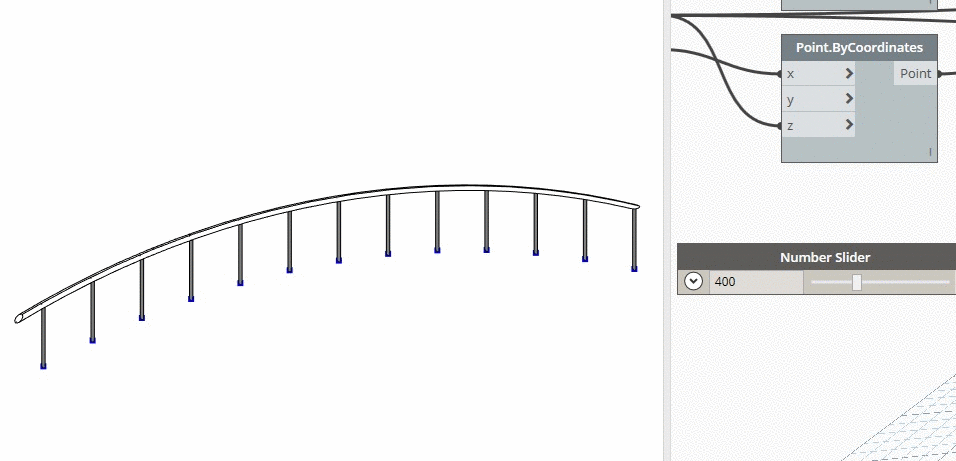
Either you run the graph in 'Auto' mode (like in the figure above), or re-run the graph manually, Dynamo places new elements while removing previously created ones. This kind of behaviour sounds pretty logical and straightforward - look what you'll get if there's no element binding at all (using one of the workarounds):
In this case Dynamo creates tons of element duplicates, bloating the model with copies. So what we've got in Dynamo by design - is a kind of insurance from the "human factor".
But what if we intentionally need to break the link between Dynamo and Revit elements? Unfortunately, currently its not possible to switch off element binding in Dynamo out-of-the-box ('OOTB'), so here are several available workarounds for you:
Re-open dyn file: run your Dynamo graph (*.dyn file), then close and re-open it without saving changes - to let Dynamo "forget" what you've already done (Note that this way you don't need to relaunch Dynamo itself);
Copy dynamo nodes: run your Dynamo graph (*.dyn file), then copy all the nodes from the workspace, insert them into the new graph and run that new graph;
Group Revit elements: run your Dynamo graph (*.dyn file), then select newly created elements in Revit and group them. Re-run the graph to place the next pack of elements (this is when Dynamo deletes all the previously placed instances), then select your group and click "Restore all excluded" ( ) button to bring elements back;
Copy-paste Revit elements: run your Dynamo graph (*.dyn file), then select newly created elements in Revit and copy them to clipboard. Re-run the graph to place the next pack of elements, then paste back the first ones;
Use Dynamo Player (only applicable for Revit 2017.1 and above): load your Dynamo graph (*.dyn file) into the Dynamo Player and press "play". As soon as Dynamo Player executes only in 'Manual' mode and doesn't save the *.dyn file after each run, it eliminates element binding. Keep in mind though that in this case you're not able to change your graph's inputs until you upgrade to Revit 2018.1;
Use python script to place elements in transaction: Dynamo community has already published some custom nodes that override OOTB behaviour (i.e. "Family Instance By Point In Transaction" node from the "Bakery" package, or "Utilities.BakeElements" in the "Beaker" package). If you're not willing to install custom packages, use python code (like the sample code below) directly:
[code language="python"] import clr clr.AddReference("RevitServices") clr.AddReference("RevitNodes") import RevitServices from RevitServices.Persistence import DocumentManager from RevitServices.Transactions import TransactionManager doc = DocumentManager.Instance.CurrentDBDocument
for pt in pts: TransactionManager.Instance.EnsureInTransaction(doc) elems.append(doc.Create.NewFamilyInstance(pt.ToRevitType(True), famType, lvl, Structure.StructuralType.NonStructural)) TransactionManager.Instance.TransactionTaskDone()